
 this past weekend marked the 3rd birthday of my favorite little girls - my nieces charlotte and emily (yes, they were named after the brontë sisters).
at age three, they are finally aware of the significance of a birthday and were looking forward to their party, presents and, especially, their cake (they are being raised by a pair of international foodies).
so, this year it was up to them to decide on the theme of their cake, and they wanted a merry-go-'round. they specifically said "no horses" and requested a cassowary (did i mention that they are also exceptionally bright?), alligator and owl, among others.
the cake, needless to say, was a huge success. the kids, and the adults, loved it. sarah and i were very proud (and not a little exhausted).
here follows a tutorial on building a merry-go-'round cake of your own (please excuse the crappy quality of the photos - all were taken with my camera phone. again.).
 using two 12-inch cake pans, bake your favorite cake recipe. i prefer a good devil's food cake.
make your favorite filling (that'll be ganache for me) and frosting (salted, browned butter) as well.
 frost evenly and place in your freezer until firm. (emily and charlotte anxiously looking on.)
 choose your color for the base. we went with cornflower blue, which required some mixing.
note that we normally mix all colors by hand using gel and powders, so it was a TREAT to work with these pre-colored fondants!
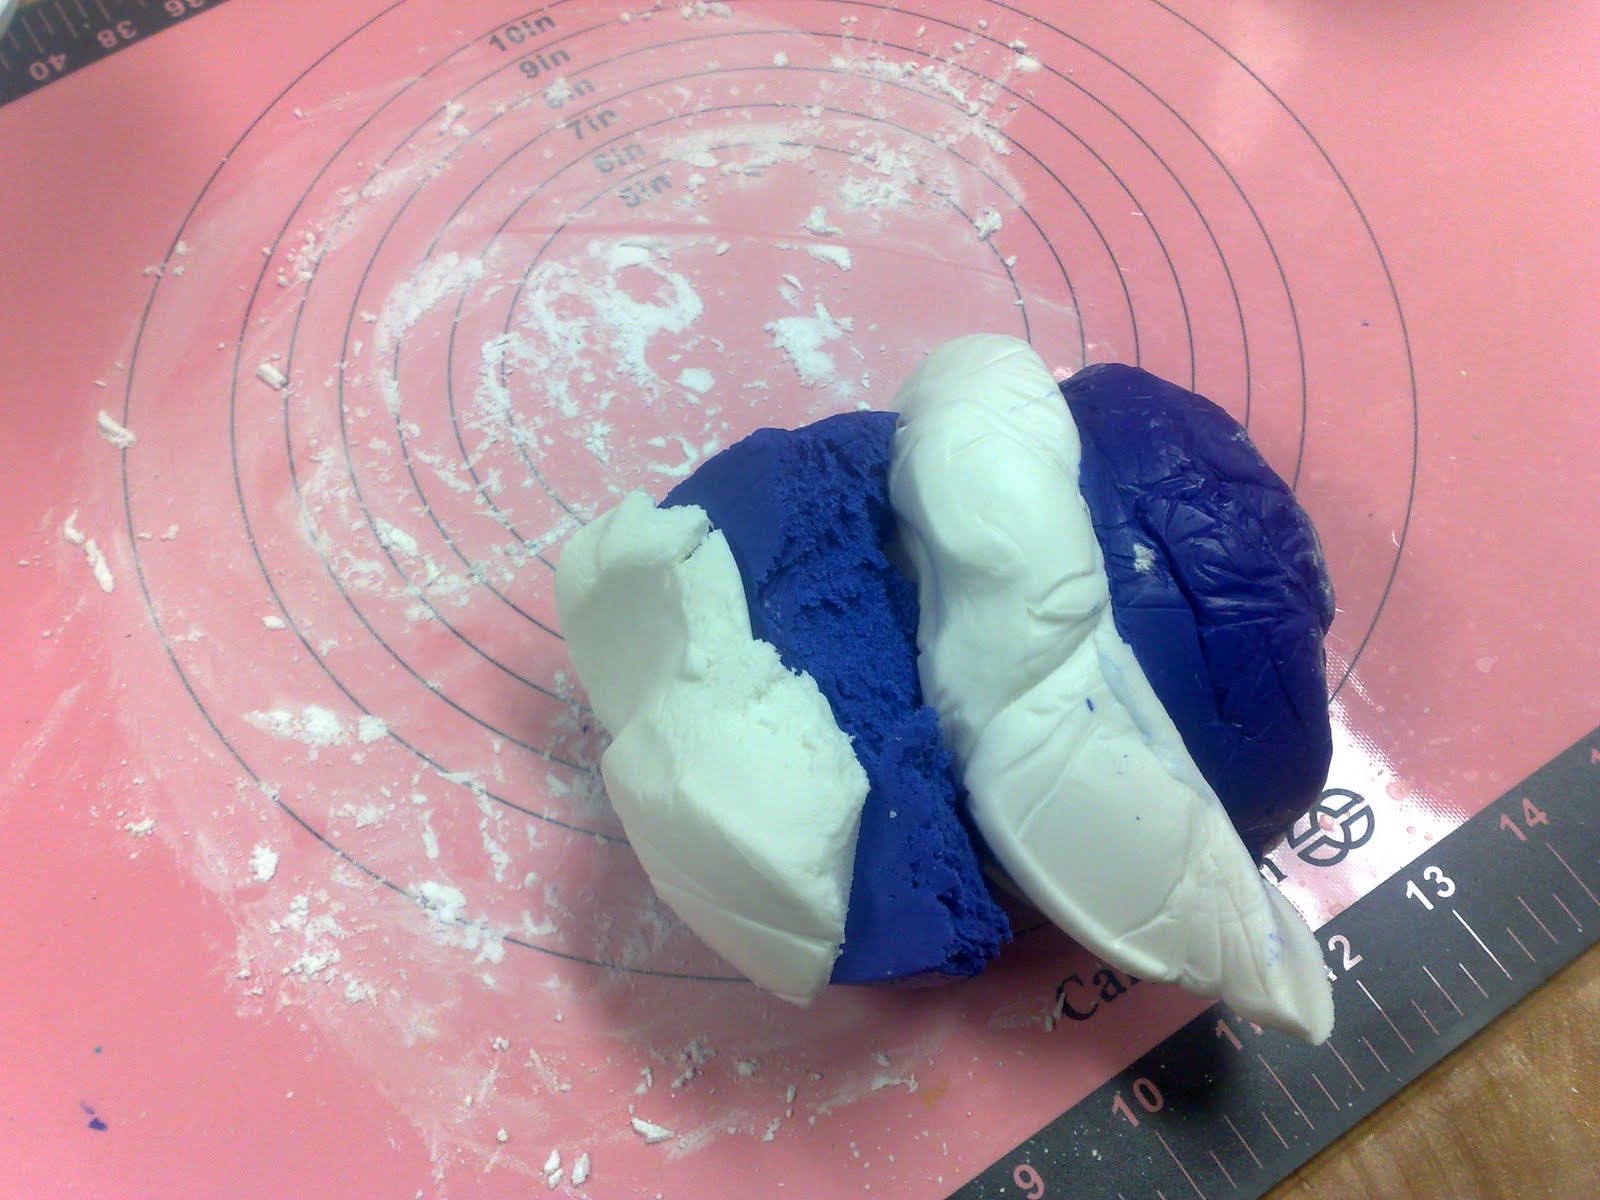 mix your colors.
 knead, knead, knead.
 roll, roll, roll. roll it out to about 15-inch circle.
 lay gently over cake and smooth.
 trim the excess and reserve for top.
 cover 6-inch cylinder with fondant. (you can make or buy one.) we used white.
 for extra sparkle, we painted it with gold dust (mixed with rum to adhere).
 cover seam with decorative band. we used rainbow metallic dragées. (placed one-by-one with tweezers. UGH.)
 cover a 12-inch cake base in fondant. (here, again, we used cornflower blue). center on cylinder.
 oh boy! that's a BIG cleaver!
select eight 1/4-inch dowels. dust with gold powder for shimmer.
cut to desired height. should be just an inch taller than the top of the "top". (we learned this the hard way so you don't have to!)
 place dowels in two sets of four. one square should run close to the edge of your top. the other should be set back an inch and be rotated 180-degrees. add a taller one dead-center.
 take a break and eat a banana. and some cheese. hey - i like them both.
 add a decorative edge to the "top". we used a scalloped press and glued pieces on with water. we also added gold dragées at each seam for decorative effect.
place decorative edge on cake's bottom seam. here we used "happy birthday" ribbon.
 time for the fun part. sarah made the fondant animals (yes, they're completely edible) in advance to save us some time. and there's your cassowary on the bottom left!
 using super glue, add animals to your dowels.
 roll out two colors of fondant, we chose red and white, and cut 4 long triangles of each for the tent top. (you'll need to do some calculations of your own here based on how tall you want it. let dry overnight.)
also, make snall flag for tippy-top and roll over dowels to dry. we added a "3" to mark the occasion.
before serving, add all triangles and flag. reinforce with super glue if needed. stand back and admire your work!
 deliver to adoring public.
 let them play. (note, we placed the cake on a lazy-susan for extra fun.)
 then let them eat cake! i think you can tell from the looks on their faces that there were no complaints!
and here, in case you're curious, are some of the other cakes we've collaborated on over the last couple of years: http://www.facebook.com/album.php?aid=16718&id=721881537&l=7e4ea01e83


OMG! You have your own Ace of Cakes thing going on! That's an awesome cake!
ReplyDeleteTruly amazing. Is that a wombat? I heart wombats.
ReplyDelete